Day 1: Introduction to Android Studio
Welcome to the Android Workshop! For the workshop, we will be going through hands-on activities on how to create an Android App from scratch. We will be creating a "Virtual Pets" app. Our virtual pets app will be a simple app where you have pets on your mobile phone, and you can feed these pets. We will cover the following topics today:
- Creating Activities (Pages) for our Android App
- Creating/Designing an Android GUI
- Android Activity Lifecycle
- Scripting interactions between user and mobile app
Tomorrow, we will be covering how to use Firebase (a simplified cloud platform) to enable additional interactive functionalities using authentication and online data storage.
Creating New Project
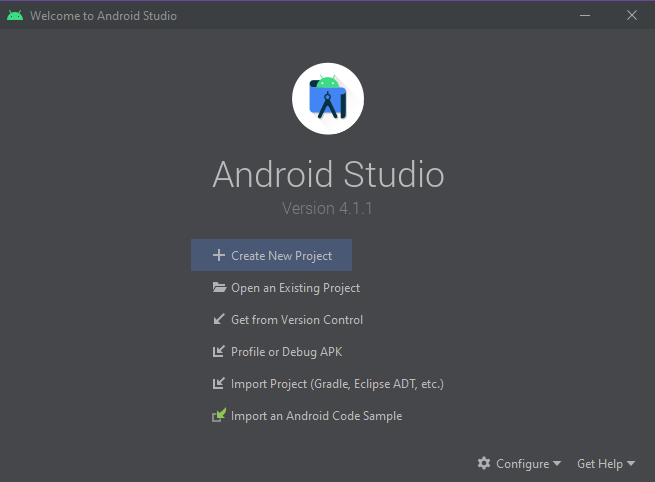
Welcome to Android Studio! This will be the starting page: click on "Create New Project"
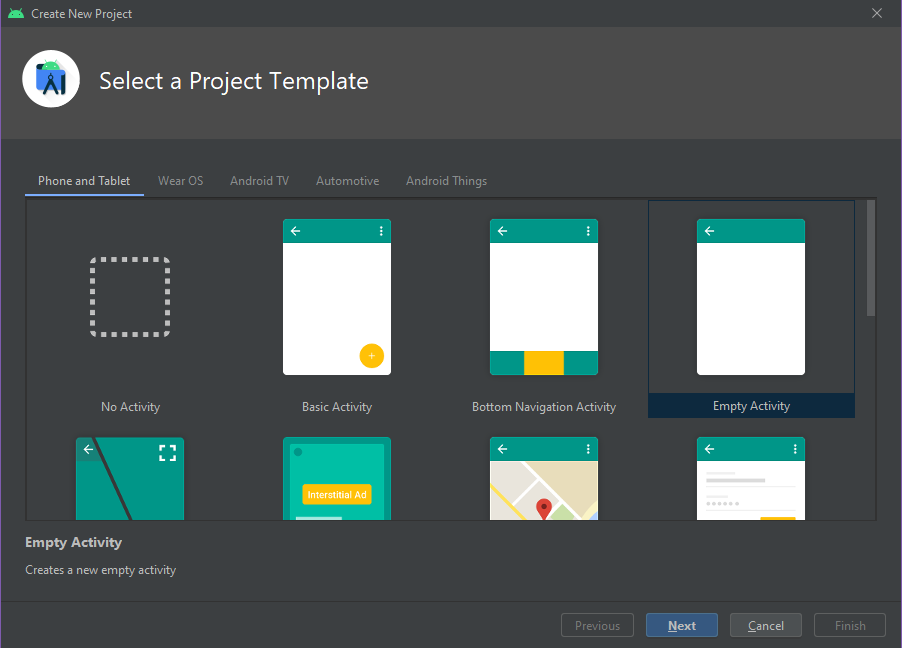
Depending on what kind of app/page template you want to start with, you can click on the options, but for the workshop (and in most cases) we will be using "Empty Activity". An activity refers to a single page of your app that it's referring to, so an app is comprised of many activities.
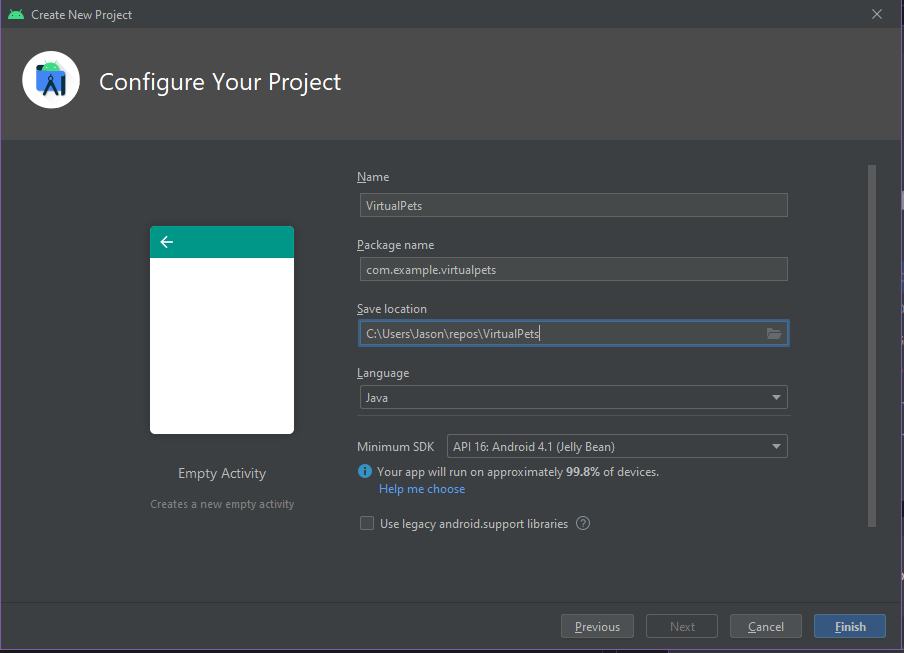
Rename the file, and under options choose "Java"
Wait for a while, the bottom should show some processes running on startup. When done, screen looks like this (... started). Dismiss the "What's New" panel.
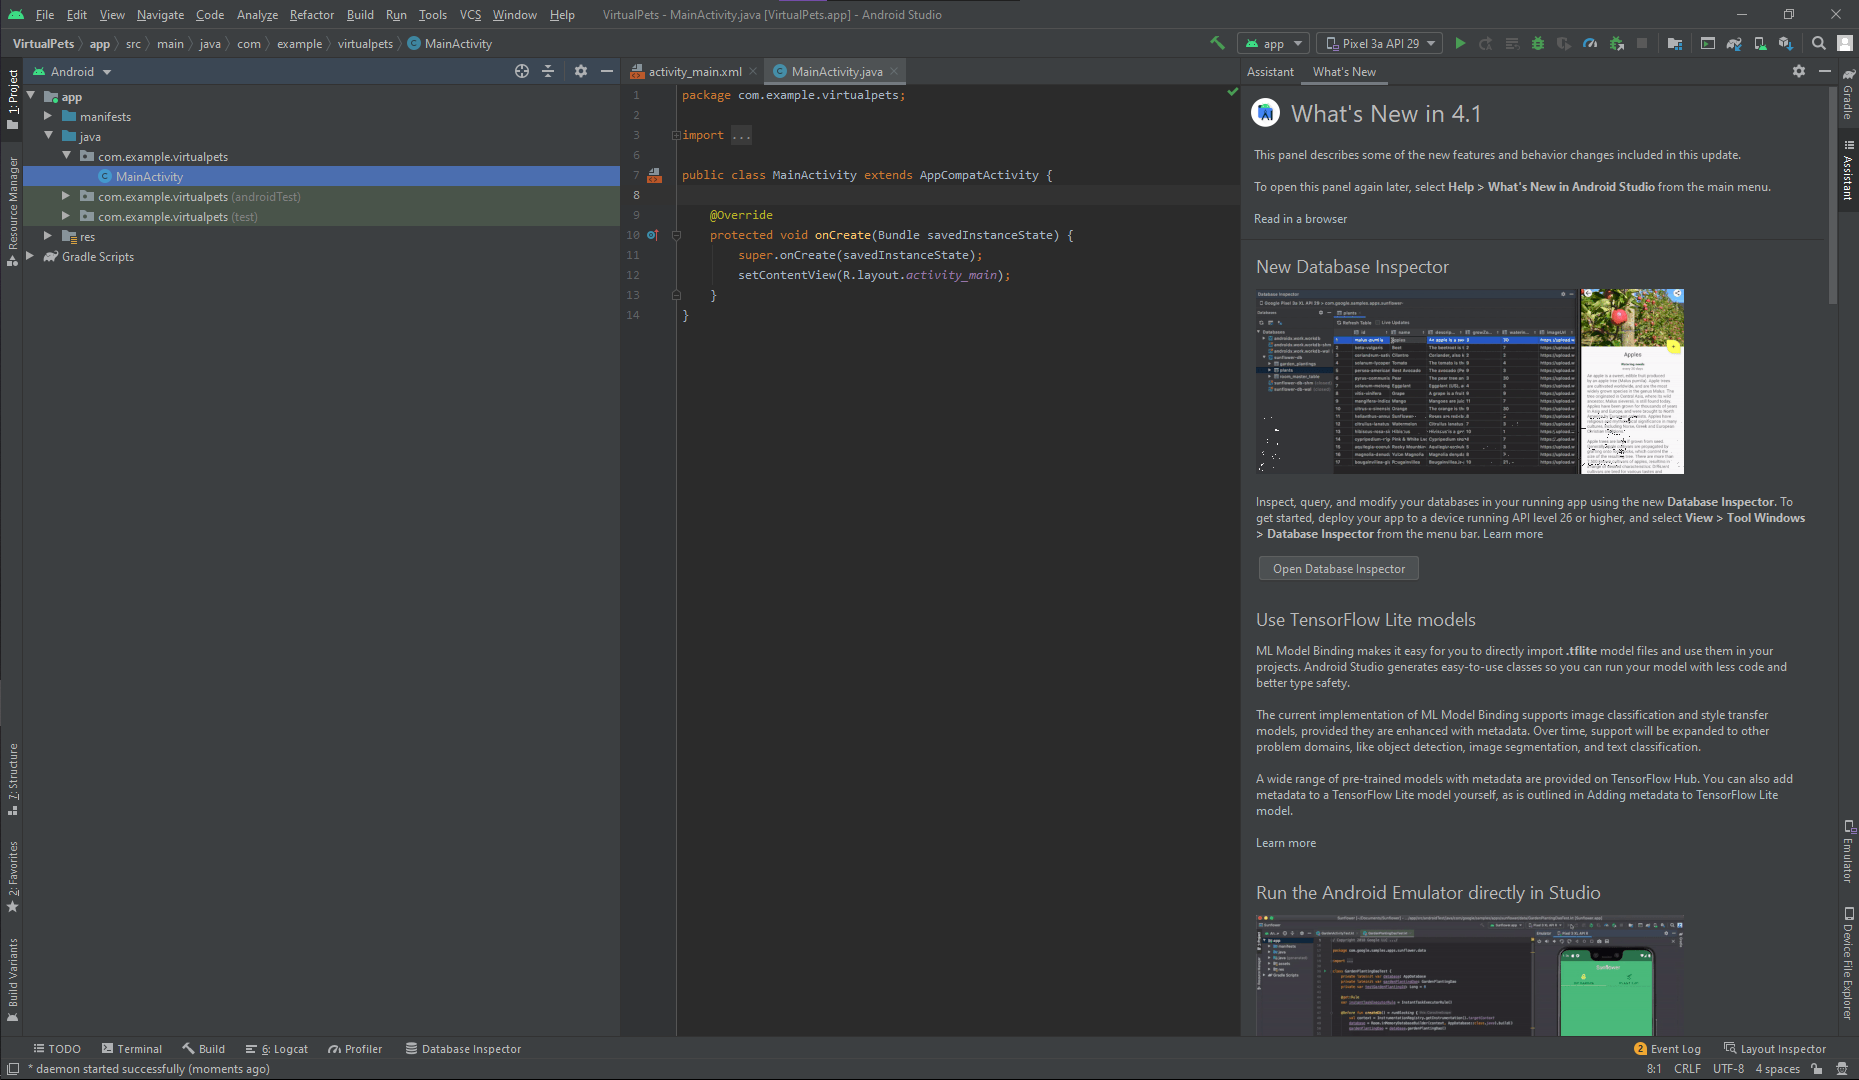
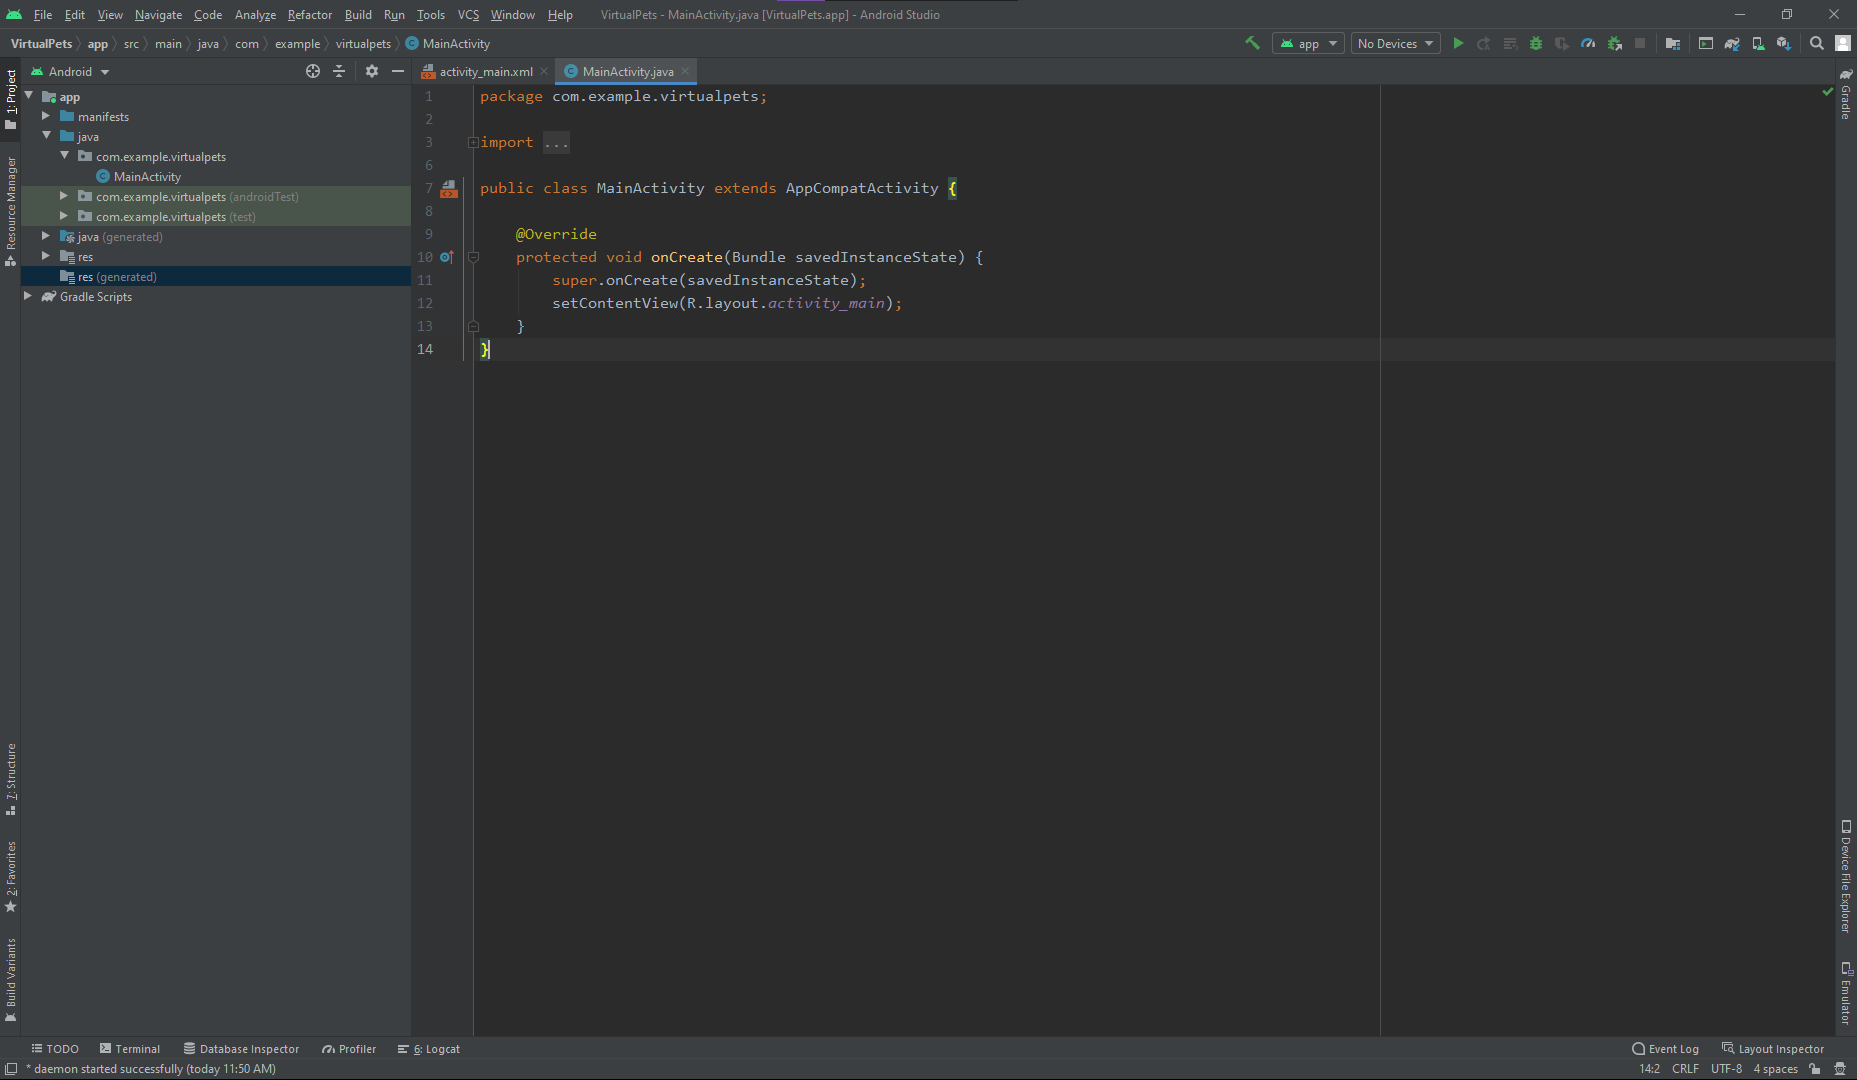
Inside Android Studio
Files are on the left, editing in the middle, and the run bar at the top right
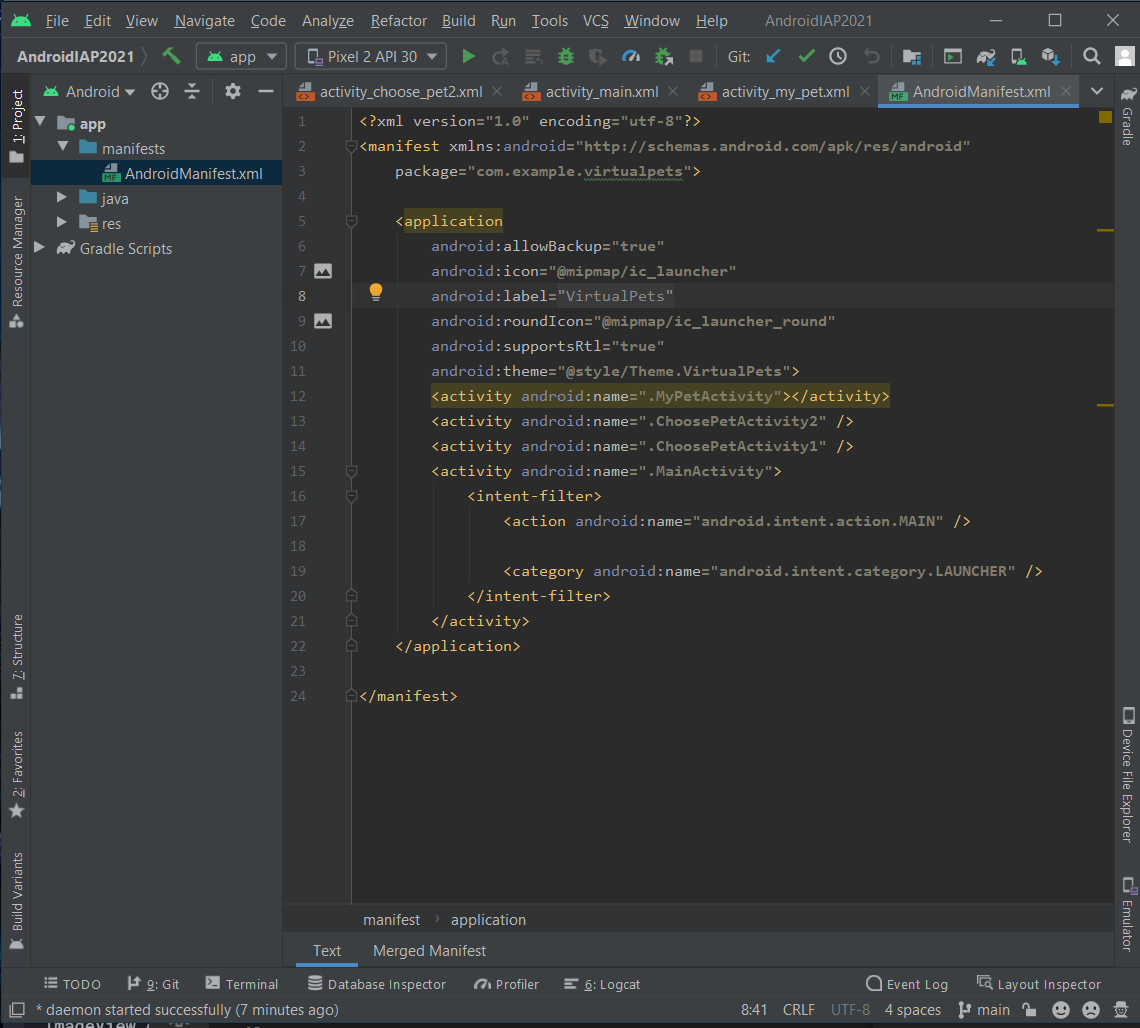
AndroidManifest.xml is a special document that summarizes your app: permissions, pages it includes, etc.
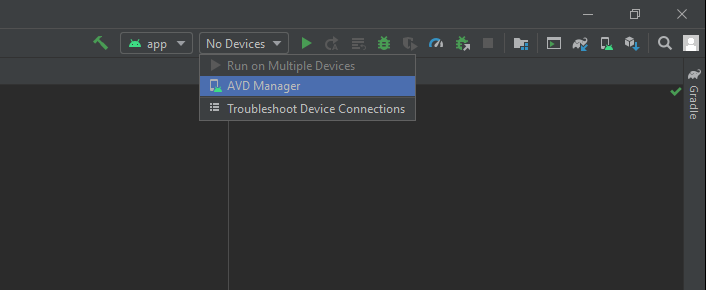
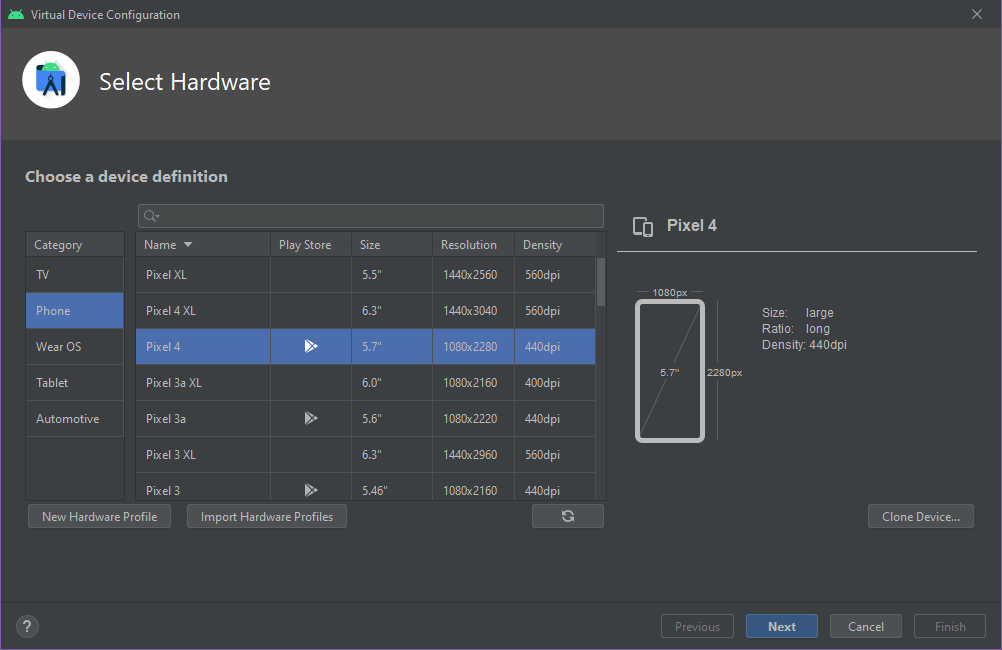
Setting up Virtual Device (Simulator)
Setting up Virtual Device (Simulator). Go to the box beside app and click on AVD Manager to download a simulator of your choice.
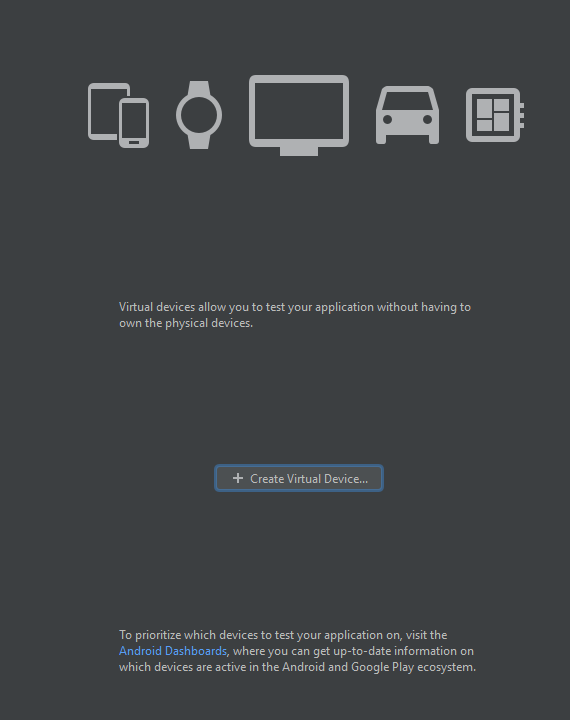
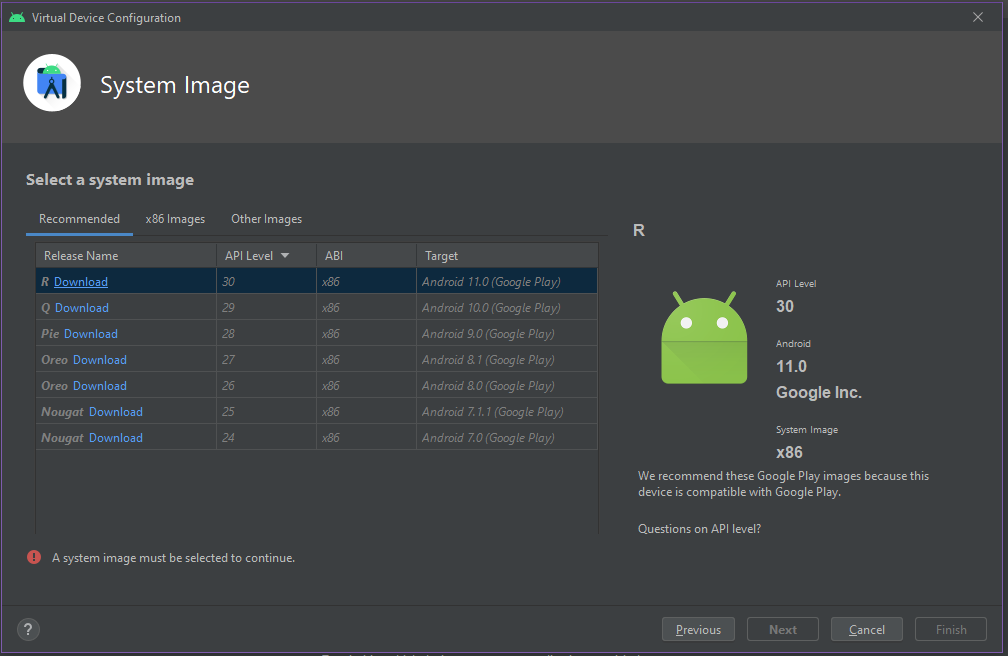
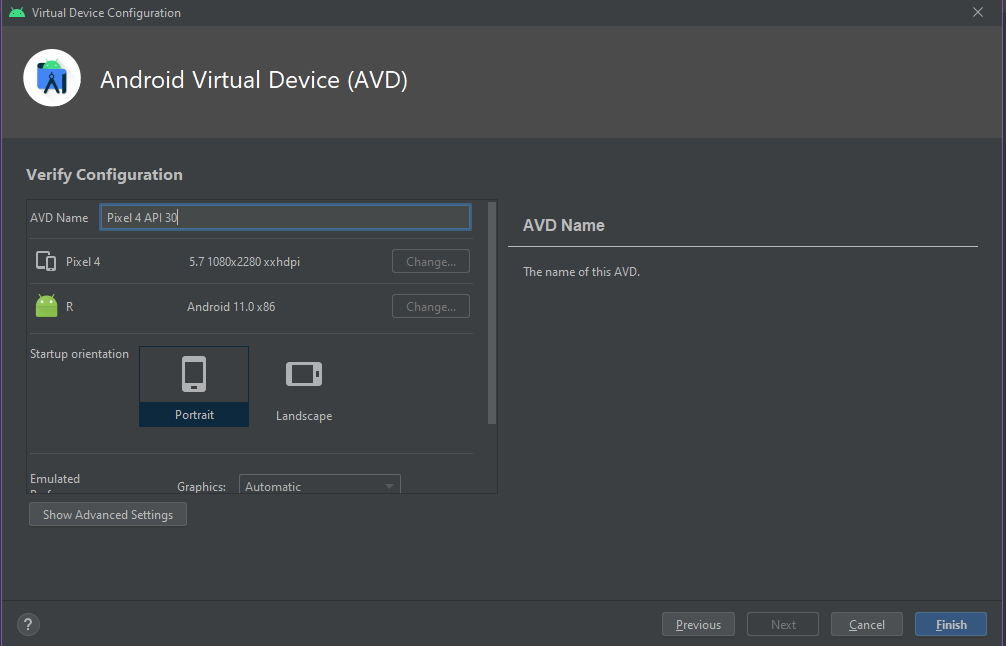
Download one of the latest releases and click next. It'll take a while to download (about 1.1GB) so just be patient.
Run bar

After launching, your simulator should show this (default 'hello world' code)
